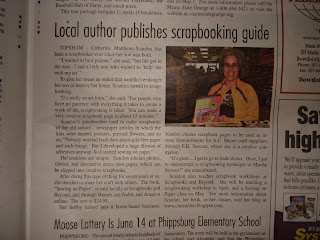
 I forgot to share this picture and article from a local free Newspaper called the Coastal Journal. They did this little article about me a couple of weeks ago. It was a very nice interview!
 So, for those of you that are into making ATC's and want to make your own album pages, here's an idea I came up with from a class I taught last weekend at Absolutely Everything. The directions are:
- Make a template on a piece of thick chipboard that is the same size as the page protector that shows a cutting line and a stitching line and insert it inside the page protector. Each pocket should be no smaller than 2 1/2" x 3 1/2" to allow the cards to fit. My pockets are about 1/4" larger than that first, to allow for even spacing of the cards and second my ATC's are lumpy!
- Cut from left to right with a craft knife (with the chipboard inside the protector because you don't want to cut all the way through both layers of plastic.
- Then, with a slick writer or photo twin mark the two stitching lines from top to bottom and removed the template.
- Then I stitched those two line - and voila - a page that stores 6 ATC's....A little hint, when stitching, start from the bottom or closed part of the page protector because you get less slippage and the pages won't get puckers and bunching.
Good luck. Post any questions if you have them....


Awesome newspaper article ! Thanks so much for sharing the Instructions for the ATC Storage- !!!! Huge hugs
ReplyDeleteHey,missy, that article is so cool!
ReplyDeleteYou are a doll for making my day, with that envi of goodies today! Check out my blog, when you get a chance! THANKYOU SO MUCH !!!!